Easy Origami Straw Rockets: Step-by-Step Guide
How to Make Straw Rockets are surprisingly simple and incredibly fun to create! Imagine a sleek, pointed paper missile, ready to soar with a puff of air, attached to the end of a drinking straw. These little wonders are perfect for complete beginners, especially kids looking for an exciting craft that also doubles as a toy. You can whip up a whole fleet in about 10-15 minutes per rocket, making it a fantastic activity for an afternoon.
In this tutorial, I’ll guide you step-by-step through the folding process, showing you how to transform a humble piece of paper into a fantastic straw rocket. We’ll cover the basic folds that give it its aerodynamic shape and how to attach it securely to your straw for maximum flight potential. Get ready to launch your creativity!
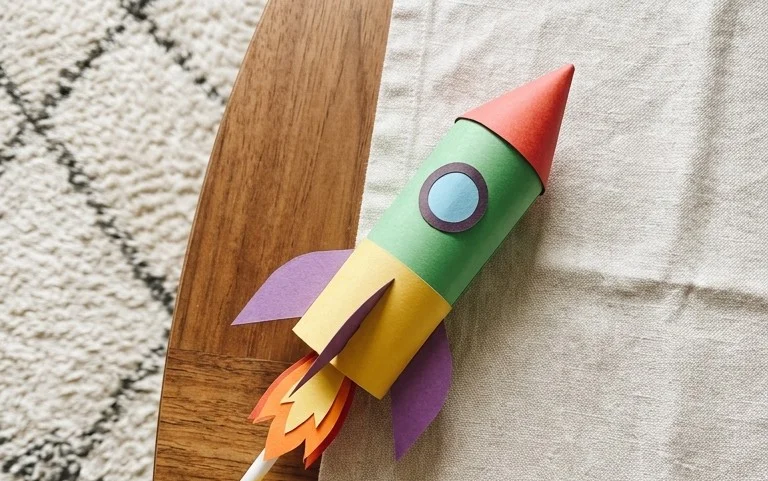
How to Make Awesome Straw Rockets with Origami
Welcome to the wonderful world of paper crafts! Today, we’re going to learn how to make incredibly simple yet satisfying straw rockets using just paper and a straw. These aren’t just fun to make; they’re also fantastic for a quick burst of aerodynamic excitement. I’ve always loved how a few basic folds can transform a flat piece of paper into something that can actually fly. Let’s get started!
Choosing Your Paper
The paper you choose can make a surprising difference to how your straw rocket looks and flies. For these rockets, we’re going to keep it pretty simple.
For your first few rockets, I highly recommend using standard printer paper. This is usually around 20-pound (75 gsm) weight. It’s readily available, easy to fold precisely, and holds creases well. You’ll want to use A4 or US Letter size paper (which is roughly 8.5 by 11 inches). This size is perfect for creating a rocket body that fits comfortably on most drinking straws.
Whether your paper is single-sided or double-sided won’t really affect the structural integrity of the rocket, but it will influence the final look. If you use single-sided paper, you’ll have a white interior to your rocket. Double-sided coloured paper, or paper with a pattern on one side and a solid colour on the other, can create a really neat visual effect. Imagine a rocket that’s blue on the outside and red on the inside! You can also get creative with patterned scrapbook paper, but be mindful that thicker scrapbook paper might be a little harder to fold precisely.
Essential Base Folds
Before we jump into the rocket folds, let’s quickly cover a couple of fundamental origami folds that we’ll use repeatedly. Mastering these will make the whole process much smoother.
The most important fold is the simple “valley fold.” This is when you bring one edge or corner of the paper to meet another, creating a crease that dips inwards like a valley. To make a clean valley fold, align the edges or corners as precisely as possible, then run your fingernail firmly along the fold line from one end to the other. This will give you a sharp, defined crease. A good crease is key to a strong and well-proportioned origami model.
We’ll also use a “reverse fold,” though it’s more about how we open up a fold. Essentially, when you make a fold, you might then unfold it slightly and push the paper in along that existing crease. Don’t worry too much about this for now; it will become clear as we go through the steps.
Let’s Build Your Straw Rocket! A Step-by-Step Guide
Now for the fun part! We’ll be making a classic straw rocket design. Get your paper ready, and let’s fold!
- Start with your piece of rectangular paper. If you’re using paper that has a coloured side and a white side, place the coloured side down, so the white side is facing you.
- Take the bottom edge of the paper and fold it upwards to meet the top edge. Align these edges very carefully, and then crease the fold firmly all the way across. You should now have a long, thin rectangle, half the original height.
- Turn the paper so that the folded edge is at the top and the open edges are at the bottom.
- Now, take the top-left corner and fold it down so that the left edge of the paper aligns perfectly with the centre crease line you just made. You’ll create a diagonal fold. Crease this firmly.
- Repeat step 4 on the other side. Take the top-right corner and fold it down so that the right edge aligns with the centre crease line. Crease this firmly. Your paper should now look like an arrow pointing downwards.
- Take the very tip of the arrow (the point where the two diagonal folds meet at the top) and fold it downwards, so that the point touches the bottom edge of the triangular flap you just created. Essentially, you’re folding the tip down over the two diagonal folds. Crease this firmly.
- Now, take the entire piece and fold it in half vertically. Bring the left edge over to meet the right edge, along that original centre crease. Make sure all the layers are aligned neatly before creasing. The pointy nose of your rocket should be on the left side.
- This next fold creates the rocket body. Hold the folded paper with the point facing left. You’re going to take the bottom edge (which is currently two open edges) and fold it upwards, aligning it with the top folded edge. This will create a long, narrow tube shape. Crease this very, very firmly. This is where the rocket gets its strength.
- You should now have a long, thin shape. You’ll see a small triangular flap sticking out at the back of the rocket (where the open edges were). Fold this triangular flap upwards and over the main body of the rocket. Crease it well. This helps to secure the folds.
- Finally, you’re going to open up the main body of the rocket. Gently insert your finger into the opening at the back of the rocket and puff it out slightly. The fold you made in step 8 should now form the main cylindrical body. The triangular flap from step 9 will be the tail fin.
- Your straw rocket is almost ready! You can now gently slide the open end of the rocket onto your drinking straw. It should fit snugly.
Common Beginner Pitfalls and How to Avoid Them
Even simple origami can have a few tricky spots for newcomers. Don’t worry if your first few rockets aren’t perfect – that’s how we learn! Here are a few common places people tend to go wrong and how to fix them:
- Messy Creases: This is probably the most common issue. If your creases aren’t sharp and precise, your rocket might be floppy, not fly well, or not even hold its shape.
- How to avoid it: As I mentioned earlier, take your time. Align edges and corners *exactly* before you crease. Then, use your fingernail or a bone folder (if you have one) to really press down and flatten the fold. Think of it as giving the paper a good, firm hug along the fold line.
- Misaligned Folds: When you’re folding the corners down to the centre crease, or folding the paper in half, it’s easy for things to get a little off-kilter.
- How to avoid it: Go back to the instruction for that specific fold. For example, when folding the corners to the centre, make sure the *edge* of the paper is sitting right on top of the *crease line*. Don’t just eyeball it. If it’s not perfectly aligned, gently unfold and try again. Precision here will make the whole rocket symmetrical and aerodynamic.
- Not Opening the Rocket Body Properly: In step 9, we open up the main body of the rocket. If this fold isn’t properly made or if you don’t open it out enough, you’ll end up with a flattened tube instead of a cylindrical rocket.
- How to avoid it: Make sure the fold in step 8 (folding the bottom edge up to the top edge) is very firm. Then, when you get to step 9, gently puff the rocket open. You might need to use your finger inside the tube to help shape it. It should look like a hollow cylinder, not a squashed rectangle.
Varying Your Straw Rockets
Once you’ve mastered the basic straw rocket, you can have a lot of fun experimenting!
Size: While we used standard A4/Letter paper, you can try folding smaller rockets using half-sized sheets of paper, or even larger ones by starting with a bigger rectangle. Just remember that the straw needs to fit inside the finished rocket body. If you make the rocket too wide, it won’t fit on the straw!
Paper Pattern and Colour: This is where the creativity really shines!
- Patterned Paper: Use scrapbook paper with fun designs – stars, stripes, flowers, comic book panels! The possibilities are endless.
- Coloured Paper: Try using different colours of construction paper or cardstock (though again, be mindful of thickness). You could even use metallic paper for a futuristic look.
- Hand-Drawn Designs: Before you fold, draw your own designs, logos, or even create a story on your paper. Imagine a rocket that looks like a superhero’s jet, or a spaceship from another galaxy!
Ideas for Displaying and Gifting
These little straw rockets are so charming, they make wonderful little gifts or decorative items.
Gifting:
- Party Favours: Make a batch of colourful rockets for a birthday party. Kids will love them! You can even attach a small personalized tag.
- “Blast Off” Greeting Cards: Attach a rocket to a card with a message like “Wishing you a blast of a birthday!” or “Sending you best wishes!”
- Desk Buddies: A single, well-made rocket can be a fun little desk decoration for a friend or colleague.
Displaying:
- Rocket Launch Pad: Create a small base out of cardstock or even a small block of wood and “launch” your rockets from it.
- Mobile: String several rockets together with fishing line or thin thread to create a fun, whimsical mobile.
- Shadow Box: Arrange a collection of your best rockets in a shadow box for a unique piece of wall art.
Making straw rockets is a delightful way to engage with origami and create something that’s not just pretty, but also interactive. I hope you’ve enjoyed this tutorial and are excited to launch your own creations! Happy folding!
Conclusion
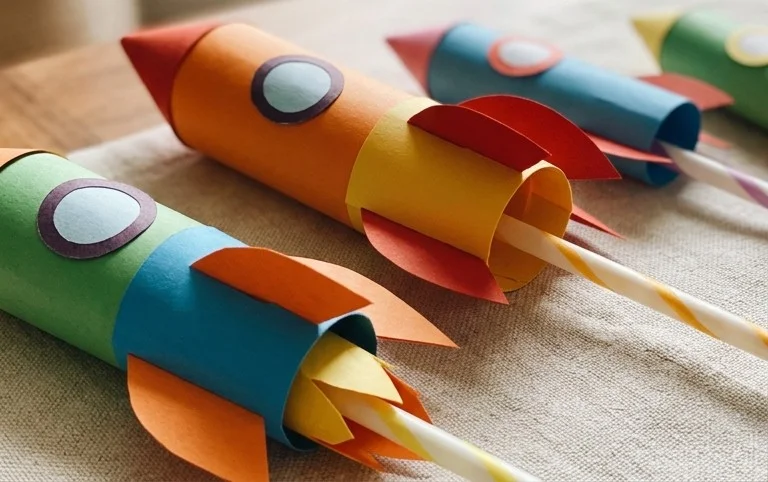
Congratulations on creating your own amazing straw rockets! Don’t worry if your first attempt wasn’t perfect; every fold is a learning experience. The beauty of origami is in the process. So, gather your friends and family and let the straw rocket races begin! See whose rocket flies the furthest. For your next adventure, try creating a longer rocket body for more distance, or perhaps add decorative fins for a unique look. We hope you enjoyed this paper project and encourage you to explore our other exciting origami creations!
